|

Image Repainter is a Photoshop-compatible plug-in for Windows
designed by ImageSkill Software. Image Repainter allows the user to
make a photo to be 'slightly brighter', or 'slightly more
colorful' taking main colors and brightness from the photo you
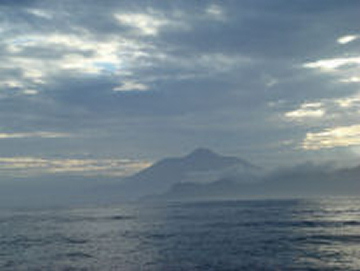
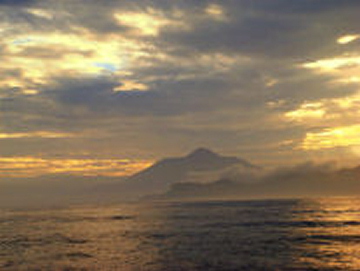
like. It is very useful for recoloring of a series of image shots,
especially where slightly different lighting and camera settings
produced unnatural color effects in each photo like gray color
appearance in your seaside photos while it should to be blue. Image
Repainter is of rare class of tools which 'just understand you'.
You only give it the image you want to fix and a 'template image',
which color content is close to what you want see on the photo to be
fixed. Image Repainter will change the color content of the work
image in a smart, fast and pretty way. You can do a global color
change or local one. In the latter case you only need to select any
particular area of an image where color change should be done. Extra
fade brush can help you if necessary easily and intuitively obvious
correct the result.
This help contains the following sections:
|
Recent changes
|
|
|
- v 1.0 - New release.
- v 1.1 - 09/06/2006
-
Interface was improved. Now you can select template image
and change current folder by one control.
-
Just now, plug-in can process selection correctly. Only
selected area will be transformed.
- v 1.5 - 05/23/2008
-
Interface was improved. Multilingual interface support was
added.
- Fade brush was added
|
Install and uninstall procedures
|
|
|
Run setup file. Installer try to find suitable graphic hosts.
Choose one of them from list. If you want to install plug-in in
other folder, select item "Other path" and set path. In this case
you must set "Plug-ins path" of your graphic host to setup folder.
In order to uninstall plug-in run uninstall.exe or use
Add and Remove Programs item in the Control Panel.
|
Using Image Repainter
|
|
|
This plug-ins works under RGB data with 8bits/channel.
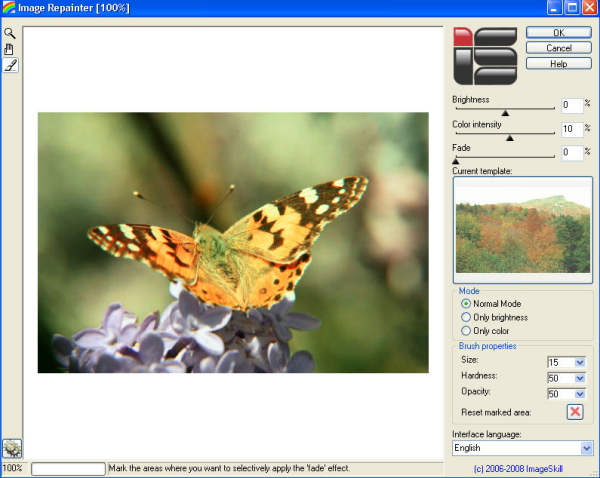
- Open an image in your graphic editor.
- Call the Image Repainter plug-in. (For Adobe Photoshop
"Filter->Image Skill->Image Repainter").
- Choose a current folder and select desirable template image
that is displayed in the small preview window.
- Plug-in begins to process the original image automatically.
After a time the resulting image appears in the main window.
- If necessary, adjust the Brightness or (and) Color
intensity controls in order to receive more pleasant effect.
- If you want change brightness or color only, choose Only
brightness or Only color mode correspondingly instead
Normal Mode.
- If you want to correct the result of color transferring
locally click on Fade brush icon in the toolbar, adjust
brush size, hardness and opacity using
controls in the Brush properties section and restore the result
of image recoloring.
- Press OK button.
|
Tutorials
|
|
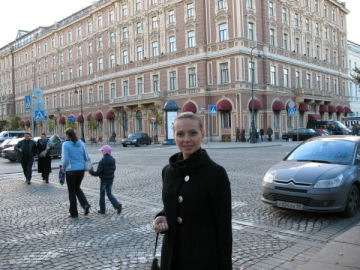
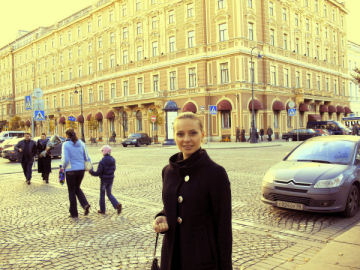
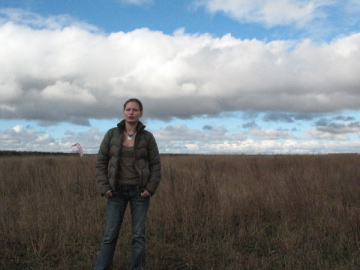
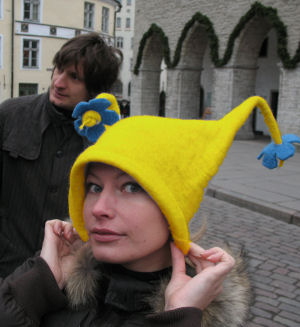
Repaint selected area
Use this tutorial to learn how to repaint an area in your image.
Let us we want to repaint girl's hat in yellow color.

- Select the hat using suitable tool, for example, 'Magic
Wand' tool in Jasc PaintShopPro X.

- Run Image Repainter plug-in: "Filter->Imageskill->Image
Repainter".
- Select template image with suitable colors.
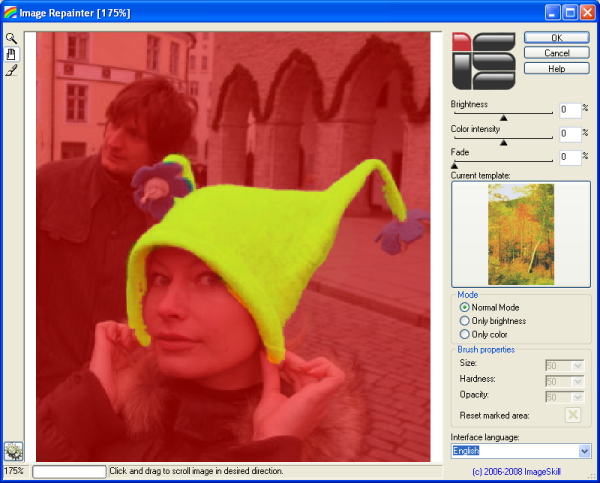
- Press Ok and pass result image to host program.
|
Tips and Tricks
|
|
|
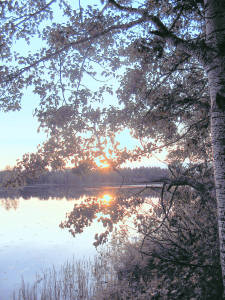
The following tips will help you get the best results when using
Image Repainter.
- Do not use source and template images having very narrow color
histograms.
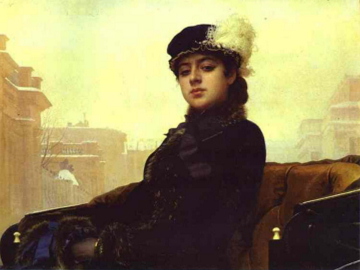
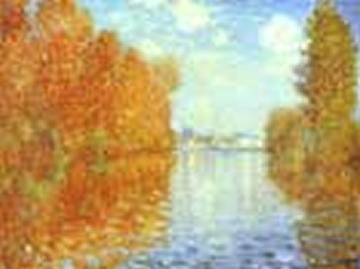
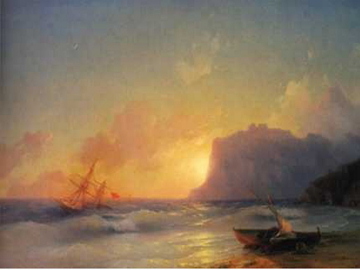
- If you want to get specific artistic color effects on your
photos use paintings as templates .
- Getting attractive result save suitable template in your
Favourite Templates Gallery.
|
Art Galleryy
|
|
|
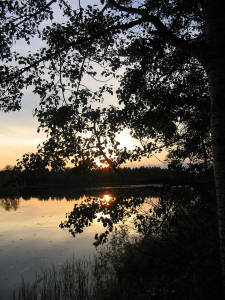
You can use this plug-in for many purposes. You can change
brightness, color or both using template sample..
|
Quick Buy
|
|
|
You can order full version of this plug-in now($14.95).
Order this product via


|